
MRI Shoulder Protocol: Understanding Rotator Cuff & Labrum Imaging
Shoulder pain affects millions of people, and MRI remains the gold standard for diagnosing complex rotator cuff and labral injuries. This comprehensive guide targets radiologists, orthopedic surgeons, sports medicine physicians, and MRI technologists who need to master shoulder imaging protocols and interpretation.
Getting accurate shoulder MRI results depends on using the right imaging sequences and understanding what you’re looking at. Many shoulder injuries involve subtle tears or degenerative changes that can be missed without proper technique and knowledge.
We’ll walk you through the essential MRI shoulder protocol components that ensure diagnostic-quality images every time. You’ll also learn advanced techniques for detecting rotator cuff pathology, including partial-thickness tears and tendinopathy that often challenge even experienced radiologists. Finally, we’ll cover comprehensive labral pathology diagnosis, showing you how to spot SLAP tears, Bankart lesions, and other labral injuries that can significantly impact patient outcomes.
Essential MRI Shoulder Protocol Components
Standard Imaging Planes and Sequences
MRI shoulder protocols require three essential imaging planes: oblique coronal, oblique sagittal, and axial orientations. T2-weighted sequences with fat suppression excel at detecting fluid and edema, while T1-weighted images provide excellent anatomical detail and bone marrow assessment.
Optimal Patient Positioning Techniques
Proper positioning places the patient supine with the affected arm at their side in external rotation. The shoulder should be centered in the coil with minimal patient movement to prevent motion artifacts that degrade image quality.
Key Technical Parameters for Maximum Detail
| Parameter | Optimal Range |
| Field of View | 14-16 cm |
| Slice Thickness | 3-4 mm |
| Matrix | 256 x 192 minimum |
| TE (T2) | 80-120 ms |
High-resolution imaging demands careful attention to these technical settings, balancing acquisition time with diagnostic quality.
Contrast Enhancement Considerations
Gadolinium enhancement helps differentiate between partial and full-thickness rotator cuff tears while improving visualization of labral pathology. MR arthrography with intra-articular contrast injection provides superior joint capsule distension and better delineation of small labral tears that might be missed on conventional sequences.
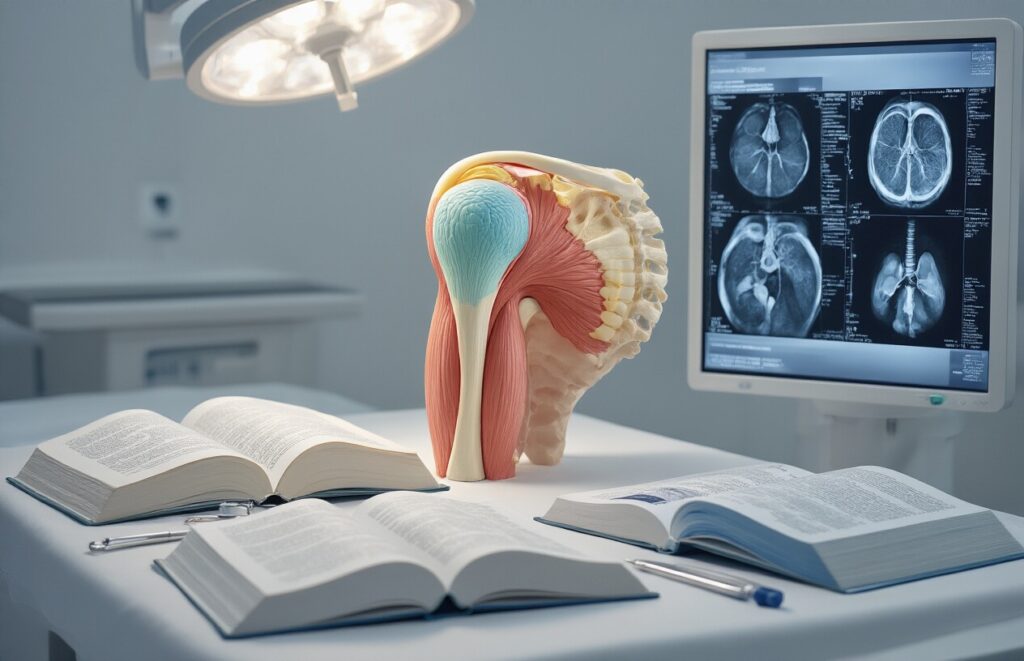
Rotator Cuff Anatomy and MRI Visualization
Four Rotator Cuff Muscles Identification
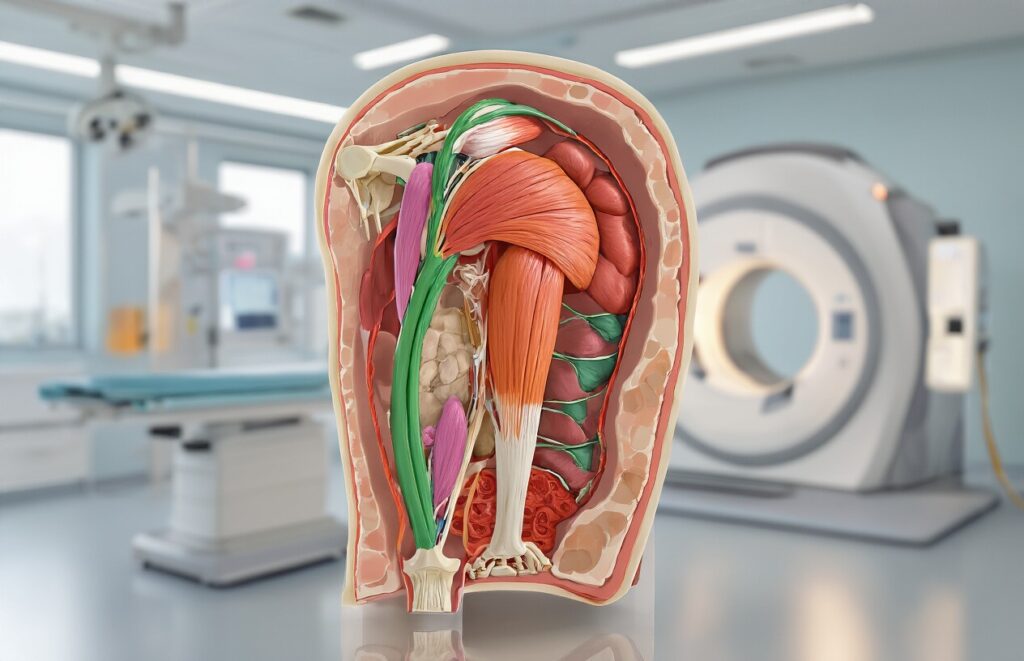
The rotator cuff consists of four distinct muscles that work together to stabilize the shoulder joint. The supraspinatus sits on top of the shoulder blade and initiates arm abduction, appearing as a thin muscle belly transitioning to tendon over the humeral head on MRI. The infraspinatus and teres minor occupy the back portion of the shoulder blade, with the infraspinatus being larger and more medial, while the teres minor appears smaller and lower on axial images. The subscapularis forms the front wall of the rotator cuff, appearing as the largest and most robust muscle on axial sequences.
| Muscle | Location | Primary Function | MRI Appearance |
| Supraspinatus | Superior | Arm abduction initiation | Thin muscle-tendon transition |
| Infraspinatus | Posterior-superior | External rotation | Large posterior muscle |
| Teres Minor | Posterior-inferior | External rotation | Small inferior muscle |
| Subscapularis | Anterior | Internal rotation | Robust anterior muscle |
Tendon Insertion Points and Attachments
Each rotator cuff tendon has specific insertion points on the humeral head that create distinct MRI signatures. The supraspinatus tendon inserts on the superior and anterior aspects of the greater tuberosity, appearing as a dark band on T1-weighted images. The infraspinatus attaches to the middle and posterior greater tuberosity, while the teres minor inserts on the inferior greater tuberosity. The subscapularis tendon inserts on the lesser tuberosity, creating a characteristic comma-shaped appearance on axial images.
Common Tear Patterns and Classifications
Rotator cuff tears follow predictable patterns that radiologists classify based on location, size, and tissue quality. Partial-thickness tears affect either the articular surface (more common) or bursal surface, appearing as increased signal intensity within the tendon on T2-weighted sequences. Full-thickness tears show complete discontinuity of tendon fibers with fluid signal extending from the joint to the subacromial space. Massive tears involve multiple tendons and often show muscle atrophy and fatty infiltration, which appears as bright signal on T1-weighted images, indicating poor healing potential.
Advanced Rotator Cuff Pathology Detection
Full-Thickness vs Partial-Thickness Tear Recognition
Full-thickness tears display complete disruption of tendon fibers from articular to bursal surfaces, appearing as hyperintense fluid signal extending through the entire tendon thickness on T2-weighted sequences. These tears often show retraction patterns and are best evaluated on coronal oblique images. Partial-thickness tears present as focal hyperintense signals within the tendon substance, commonly affecting the articular surface near the supraspinatus insertion.
| Tear Type | MRI Characteristics | Best Sequences |
| Full-thickness | Complete signal disruption, possible retraction | T2 coronal oblique, PD fat-sat |
| Partial-thickness | Focal hyperintense signal, intact fibers | T2 sagittal oblique, ABER position |
Muscle Atrophy and Fatty Infiltration Assessment
Muscle atrophy manifests as decreased muscle bulk with corresponding increases in T1 hyperintense fatty infiltration, particularly affecting the supraspinatus and infraspinatus muscles. The Goutallier classification system grades fatty infiltration from 0-4, with higher grades indicating worse prognosis for surgical repair outcomes.
Tendinopathy and Degenerative Changes
Tendinopathy presents as intermediate signal intensity on T1-weighted images and heterogeneous signal on T2-weighted sequences without discrete tears. Degenerative changes include tendon thinning, surface irregularities, and intratendinous calcifications that appear as signal voids on all sequences.
Post-Surgical Evaluation Techniques
Post-surgical imaging requires careful differentiation between expected healing changes and re-tears. Metal artifact reduction sequences help visualize tissues around suture anchors. Intact repairs show continuous low signal intensity across the repair site, while re-tears demonstrate fluid signal disruption.
Impingement Syndrome Imaging Features
Subacromial impingement displays narrowing of the subacromial space below 7mm, acromial spurring, and bursal-sided tendon fraying. Secondary signs include subacromial bursitis with fluid collection and reactive bone marrow edema in the greater tuberosity on STIR sequences.
Labrum Structure and MRI Assessment

Normal Labral Anatomy Visualization
The glenoid labrum appears as a triangular fibrocartilaginous structure on MRI, best visualized on T2-weighted and proton density sequences. Normal labrum demonstrates low signal intensity with a smooth, continuous attachment to the glenoid rim. The posterior labrum typically shows consistent triangular morphology, while the anterior superior region displays more variable anatomy.
Glenoid Labrum Variants and Pitfalls
Several anatomical variants can mimic pathology on MRI imaging. The sublabral foramen, present in 11-18% of shoulders, creates a normal detachment between the anterior superior labrum and glenoid. The Buford complex combines absent anterior superior labrum with thickened middle glenohumeral ligament. Additionally, the sublabral sulcus represents normal undercutting of the posterior superior labrum that shouldn’t be mistaken for tears.
Superior and Inferior Labrum Evaluation
| Location | Key Features | Common Pathology |
| Superior | Biceps anchor attachment | SLAP tears, biceps instability |
| Anterior Superior | Variable anatomy | Bankart lesions, capsular tears |
| Inferior | Consistent triangular shape | Reverse Bankart, capsular injury |
Superior labral evaluation requires careful assessment of the biceps-labral complex attachment site. SLAP lesions appear as fluid signal extending into the labral substance or biceps anchor. Inferior labrum tears typically result from anterior dislocation events, creating detachment from the glenoid rim with associated capsular disruption.
Comprehensive Labral Pathology Diagnosis
SLAP Lesion Types and Characteristics
SLAP (Superior Labrum Anterior to Posterior) lesions represent tears affecting the superior labrum where the biceps tendon attaches. Type I lesions show degenerative fraying without detachment, while Type II lesions involve complete detachment of the superior labrum and biceps anchor from the glenoid rim. Type III lesions create bucket-handle tears with an intact biceps attachment, and Type IV lesions extend into the biceps tendon itself.
Bankart and Reverse Bankart Lesions
Bankart lesions occur when the anteroinferior labrum detaches from the glenoid rim, typically following anterior shoulder dislocations. These injuries appear as fluid signal extending beneath the torn labral tissue on MR arthrography. Reverse Bankart lesions affect the posteroinferior labrum during posterior dislocations, though they’re less common than their anterior counterparts.
Paralabral Cyst Formation
Paralabral cysts develop when synovial fluid extends through labral tears into the surrounding soft tissues. These fluid-filled collections most commonly arise from posterior superior labral tears and can compress nearby structures like the suprascapular nerve. The cysts appear as well-defined, high T2 signal intensity masses adjacent to the labral tear site.
Degenerative Labral Changes
Age-related labral degeneration manifests as increased intrasubstance signal, surface irregularity, and gradual thinning without acute trauma history. Unlike traumatic tears, degenerative changes show more diffuse signal alteration and less distinct fluid clefts. These changes often coexist with rotator cuff pathology and glenohumeral osteoarthritis in older patients.
Clinical Correlation and Diagnostic Accuracy

Correlating MRI Findings with Symptoms
Patient history and physical examination remain critical when interpreting shoulder MRI results. A high-grade rotator cuff tear on imaging might not cause significant pain in older patients due to adaptation, while a small tear can be debilitating in younger athletes. Pain location, onset, and functional limitations help radiologists prioritize findings and guide treatment decisions.
Sensitivity and Specificity Considerations
| Pathology | Sensitivity | Specificity |
| Full-thickness RTC tears | 95-100% | 85-95% |
| Partial-thickness RTC tears | 80-90% | 70-85% |
| Labral tears | 85-95% | 80-90% |
| SLAP lesions | 70-85% | 75-85% |
Standard MRI performs excellently for complete rotator cuff tears but shows reduced accuracy for partial tears and labral pathology, particularly SLAP lesions where clinical correlation becomes essential.
When to Recommend MR Arthrography
MR arthrography enhances diagnostic accuracy for subtle labral tears, partial rotator cuff tears, and adhesive capsulitis. Consider arthrography when:
- Clinical suspicion for labral pathology with negative standard MRI
- Evaluating partial rotator cuff tears in overhead athletes
- Assessing capsular adhesions in frozen shoulder
- Pre-surgical planning for complex shoulder instability
Limitations and False Positive Results
Age-related changes create diagnostic challenges, with rotator cuff signal abnormalities appearing in 40% of asymptomatic patients over 60. Magic angle artifact can mimic partial tears when tendons course at 55 degrees to the magnetic field. Motion artifacts and inadequate fat suppression may obscure pathology or create false findings, emphasizing proper technique and patient positioning.
Shoulder MRI protocols have become exact tools for diagnosing rotator cuff and labral injuries. The combination of appropriate imaging sequences, an understanding of anatomy, and advanced pathology-detection techniques gives doctors the detailed view they need to spot even subtle tears and damage. When radiologists know precisely what to look for in each structure and use the right imaging approach, they can catch problems that might otherwise go unnoticed.
The real magic happens when MRI findings connect with what patients are actually experiencing. Getting the most accurate diagnosis means ensuring that imaging results align with clinical symptoms and physical exam findings. If you’re dealing with persistent shoulder pain or limited movement, don’t hesitate to ask your doctor about whether an MRI might help get to the bottom of what’s going on. The technology is there to provide answers – it’s just about using it the right way.