

“MRI Ear Scan explained: a painless way to study your inner and middle ear for accurate diagnosis.”
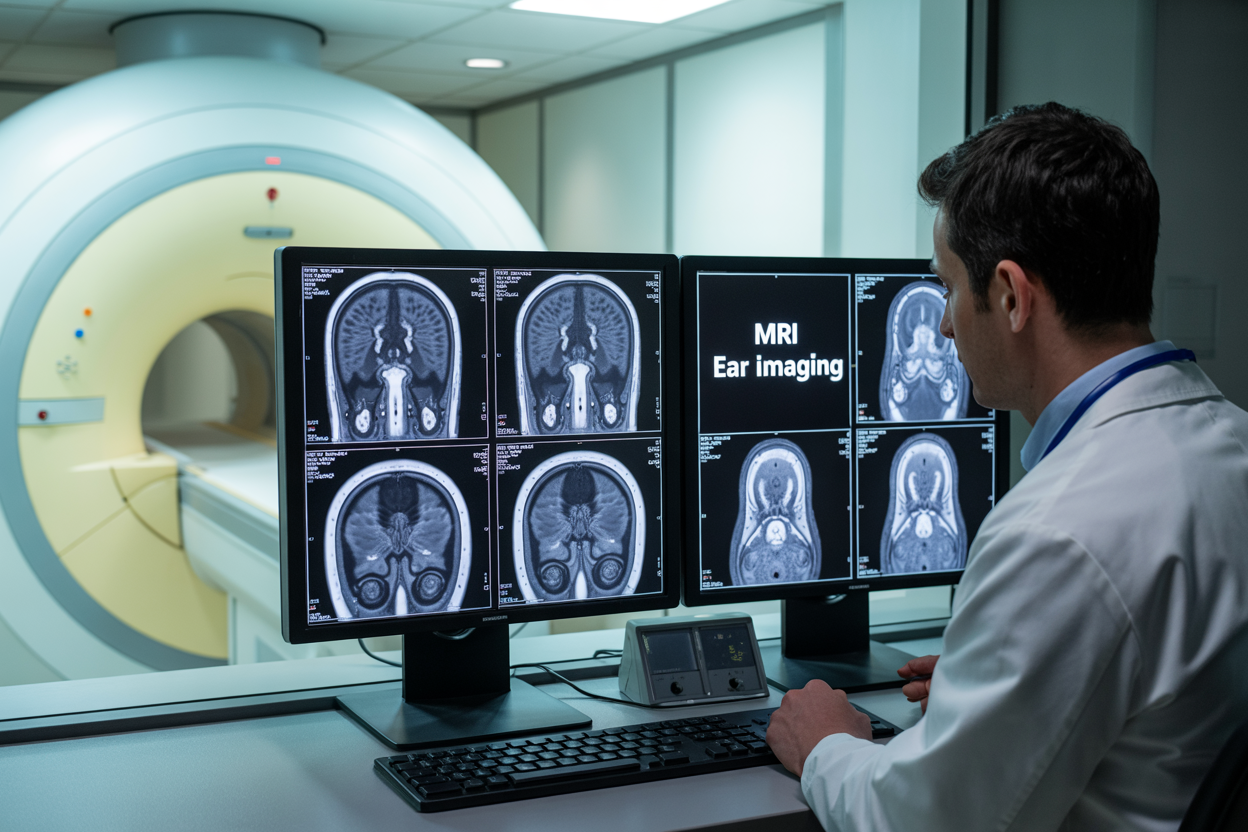
MRI EAR of the Internal Auditory Canal, Labyrinth, and Middle Ear: How We Do It
MRI ear imaging has become the gold standard for diagnosing complex ear conditions, from acoustic neuroma detection to inner ear disorders. This comprehensive guide is designed for radiologists, ENT specialists, and imaging technologists who want to master high resolution ear MRI techniques and deliver consistent, diagnostic-quality results.
Getting optimal images of the temporal bone structures requires specific knowledge of MRI ear protocol selection, patient positioning, and technical parameters. We’ll walk you through our systematic approach to internal auditory canal MRI, covering everything from essential patient preparation steps that prevent motion artifacts to advanced inner ear MRI sequences that reveal subtle pathology. You’ll also learn our proven methods for labyrinth MRI interpretation and middle ear MRI assessment techniques that help differentiate between inflammatory, infectious, and neoplastic processes.
By the end of this guide, you’ll have practical strategies for image optimization, quality control measures, and troubleshooting common technical challenges that can compromise MRI ear anatomy visualization.
Essential Patient Preparation for High-Quality MRI Ear Imaging

Pre-scan screening protocols for contraindications and safety
Thorough pre-scan screening forms the foundation of safe MRI ear imaging. Start by reviewing the patient’s complete medical history, paying special attention to any implanted devices. Cochlear implants require particular caution – while newer MRI-conditional models allow scanning under specific conditions, older devices may pose serious risks. Document the manufacturer, model number, and MRI compatibility status before proceeding.
Screen for metallic foreign bodies in the ear canal or middle ear space. Previous ear surgeries often involve titanium prostheses, stapes implants, or ventilation tubes. Most modern ear implants use MRI-safe materials, but verification remains critical. Ask patients about any history of metalwork, welding, or industrial accidents that might have introduced ferromagnetic particles near the temporal region.
Review contraindications specific to temporal bone MRI protocols. Claustrophobia rates run higher for ear imaging due to the head coil requirements and longer scan times. Discuss sedation options for anxious patients while considering that movement artifacts significantly degrade high resolution ear MRI quality. Pregnancy screening becomes especially important since inner ear MRI sequences often require gadolinium contrast for optimal acoustic neuroma MRI detection.
Check for active ear infections or recent surgical procedures. Acute otitis media or post-operative inflammation can create artifacts that mimic pathology. Schedule imaging appropriately – typically 4-6 weeks post-surgery for non-urgent cases.
Patient positioning techniques for optimal anatomical visualization
Proper patient positioning directly impacts image quality in MRI ear protocol implementation. Position the patient supine with the head secured in a dedicated head coil. The Frankfurt horizontal plane should align parallel to the table – this means the line from the external auditory canal to the inferior orbital rim runs horizontal.
Secure the head using foam padding and restraints to minimize movement during longer labyrinth MRI sequences. Even millimeter movements can blur fine anatomical structures like the modiolus or vestibular apparatus. Use ear plugs rated for MRI environments to reduce acoustic noise while ensuring they don’t contain ferromagnetic components.
Center the imaging volume carefully over the temporal bones. The axial planning images should include both internal auditory canals in the same slice to allow for bilateral comparison. This positioning proves essential for detecting asymmetric pathology like vestibular schwannomas.
Optimize patient comfort to reduce motion artifacts. Provide knee bolsters and arm supports since internal auditory canal MRI protocols often require 20-30 minutes of scanning time. Brief the patient about expected noise levels and scan duration. Establish clear communication protocols using the intercom system.
Consider prone positioning for patients who cannot tolerate supine placement, though this requires careful coil positioning adjustments. Some radiologists prefer slight neck flexion to optimize visualization of the middle ear MRI structures, particularly when assessing for ossicular chain pathology or cholesteatoma.
Advanced MRI Sequences and Technical Parameters

High-resolution T2-weighted imaging for fluid-filled structures
High-resolution T2-weighted sequences form the backbone of MRI ear imaging protocols, particularly for visualizing the intricate fluid-filled compartments of the inner ear. These sequences exploit the long T2 relaxation times of cerebrospinal fluid and endolymph, creating exceptional contrast between fluid spaces and surrounding bone or soft tissue structures.
The internal auditory canal MRI protocol typically employs heavily T2-weighted sequences with echo times ranging from 150-400ms to maximize fluid signal intensity. Three-dimensional Fourier transform (3D-FT) sequences like FIESTA, CISS, or bFFE provide submillimeter spatial resolution, often achieving voxel sizes as small as 0.4 x 0.4 x 0.6mm. This resolution proves critical for detecting subtle abnormalities within the cochlea, semicircular canals, and vestibule.
For labyrinth MRI evaluation, the optimal imaging plane runs parallel to the long axis of the temporal bone, providing clear visualization of the cochlear turns and vestibular apparatus. Acquisition parameters should include a field of view between 160-180mm, matrix size of 320×320 or higher, and slice thickness not exceeding 0.8mm with no gap between slices.
High resolution ear MRI sequences benefit from cardiac gating to minimize CSF pulsation artifacts, particularly important when evaluating for acoustic neuromas or other cerebellopontine angle lesions. The use of parallel imaging techniques like SENSE or GRAPPA can reduce acquisition times to 4-6 minutes while maintaining image quality.
T1-weighted sequences with and without gadolinium enhancement
T1-weighted sequences provide complementary anatomical information and are essential for detecting pathological enhancement patterns in temporal bone MRI studies. Pre-contrast T1-weighted images help identify hemorrhage, protein-rich fluid collections, and fat-containing lesions while serving as baseline reference for post-contrast comparison.
Standard T1-weighted spin-echo sequences use repetition times of 400-600ms and echo times of 8-15ms, optimized for tissue contrast differentiation. The MRI ear protocol should include both axial and coronal T1-weighted images with slice thickness matching the T2-weighted sequences for direct comparison.
Gadolinium-enhanced T1-weighted imaging proves invaluable for acoustic neuroma MRI detection and characterization. Most vestibular schwannomas demonstrate intense, homogeneous enhancement, making them easily distinguishable from CSF on post-contrast images. The enhancement pattern also helps differentiate between inflammatory conditions, neoplasms, and vascular malformations affecting the inner ear MRI sequences.
Post-contrast imaging should be performed within 5-10 minutes after gadolinium administration using identical parameters to pre-contrast sequences. Fat-suppressed T1-weighted sequences can improve conspicuity of enhancing lesions, particularly in the external auditory canal and middle ear space where fat signal might mask subtle enhancement.
For MRI ear anatomy evaluation, the combination of pre and post-contrast T1-weighted images helps assess the integrity of the blood-labyrinth barrier and identify inflammatory or neoplastic processes that might not be apparent on T2-weighted sequences alone.
Systematic Approach to Internal Auditory Canal Imaging

Anatomical landmarks and measurement techniques
Getting the internal auditory canal MRI right starts with nailing down the key anatomical landmarks that guide your imaging approach. The internal auditory canal itself sits within the temporal bone, running from the cerebellopontine angle to the inner ear structures. When positioning your patient, you’ll want to identify the midline sagittal plane first, then work laterally to capture both canals symmetrically.
The fundus of the internal auditory canal represents your most critical measurement point. This area houses the facial nerve, cochlear nerve, and vestibular nerve branches as they transition from the brainstem to their respective end organs. Measuring the canal diameter requires consistent technique – typically done at the narrowest point near the fundus, with normal measurements ranging from 2-8mm in diameter.
Bill’s bar, that thin bony septum dividing the superior and inferior compartments of the canal, serves as another essential landmark for high resolution ear MRI sequences. This structure helps you distinguish between the facial nerve canal superiorly and the cochlear nerve area inferiorly. When this landmark appears blurred or absent, it often signals pathology requiring closer examination.
The porus acusticus, where the internal auditory canal opens into the cerebellopontine angle, needs careful measurement for acoustic neuroma MRI screening. Any asymmetry greater than 2mm between left and right sides warrants additional investigation. Smart radiologists always compare both sides systematically, measuring canal length from porus to fundus and noting any focal widening or narrowing patterns.
Cranial nerve visualization and assessment methods
Visualizing the cranial nerves within the internal auditory canal requires specific MRI ear protocol optimization and careful attention to contrast administration timing. The eighth cranial nerve complex, including both cochlear and vestibular divisions, appears as distinct fascicles when proper temporal bone MRI techniques are employed.
FIESTA sequences excel at demonstrating the cisternal segments of cranial nerves VII and VIII as they course through the cerebellopontine angle cistern. These heavily T2-weighted images show the nerves as dark structures against bright CSF, making it easy to trace their path from the brainstem to the internal auditory canal entrance. Any deviation from the normal smooth course or caliber changes become immediately apparent.
The facial nerve travels in the anterosuperior compartment of the canal, while the cochlear nerve occupies the anteroinferior space. The superior and inferior vestibular nerves fill the posterior compartments respectively. Post-contrast T1-weighted images help identify any abnormal enhancement patterns that might suggest inflammatory conditions, tumors, or other pathological processes.
When assessing nerve integrity, look for symmetry between sides, smooth contours without focal enlargement, and normal signal characteristics. The cochleovestibular nerve should maintain consistent caliber throughout its cisternal course. Any focal enlargement, irregular enhancement, or signal abnormalities require correlation with clinical symptoms and audiometric findings.
Three-dimensional constructive interference in steady state imaging provides excellent spatial resolution for detailed nerve anatomy assessment, particularly valuable when planning surgical approaches or monitoring small lesions over time.
Labyrinth Structure Analysis and Evaluation Techniques

Cochlear morphology and signal intensity assessment
The cochlear evaluation through high resolution ear MRI demands meticulous attention to anatomical detail and signal characteristics. When examining cochlear morphology, radiologists focus on the distinctive snail-shell configuration that houses the organ of hearing. The normal cochlea displays approximately 2.5 turns, creating a spiral pattern that appears clearly defined on high-resolution temporal bone MRI sequences.
Signal intensity patterns within the cochlea provide crucial diagnostic information. The perilymphatic spaces typically demonstrate bright signal on heavily T2-weighted sequences, while the endolymphatic compartments may show variable signal intensity depending on protein content and pathological conditions. MRI ear imaging protocols specifically optimize these sequences to differentiate between perilymphatic and endolymphatic fluid spaces.
Pathological conditions manifest through altered cochlear morphology and signal patterns. Otosclerosis may present as subtle signal changes around the oval window, while labyrinthitis shows increased signal intensity within the cochlear turns on post-contrast images. The labyrinth MRI assessment includes measuring cochlear diameter, evaluating the modiolus integrity, and assessing the cochlear nerve canal patency.
Advanced sequences like CISS (Constructive Interference in Steady State) and FIESTA provide exceptional detail of cochlear microanatomy. These sequences excel at depicting the spiral lamina, basilar membrane, and scala tympani boundaries. Proper cochlear assessment requires systematic evaluation from base to apex, noting any asymmetries or structural abnormalities that might correlate with hearing loss patterns.
Vestibular system evaluation including semicircular canals
The vestibular apparatus evaluation represents one of the most technically demanding aspects of inner ear MRI sequences. The three semicircular canals – superior, posterior, and lateral – require precise imaging planes to capture their complete anatomy. Each canal maintains a specific orientation, and optimal visualization depends on acquiring images in multiple planes to avoid partial volume effects.
MRI ear protocol sequences must demonstrate the delicate membranous labyrinth within each semicircular canal. The normal vestibular system shows symmetric fluid signal intensity within all canals, with clearly defined ampullae at the canal ends. The utricle and saccule appear as small, oval-shaped structures within the vestibule, connecting to the cochlea through the endolymphatic duct system.
Pathological findings in the vestibular system include canal dehiscence, where bone overlying the superior semicircular canal becomes thin or absent. This condition creates characteristic symptoms and requires high-resolution imaging for accurate diagnosis. Post-inflammatory changes may show enhancement or altered signal intensity within the vestibular structures, particularly following viral labyrinthitis or autoimmune conditions.
The endolymphatic sac assessment completes vestibular evaluation. Located posteriorly within the petrous bone, this structure regulates endolymphatic fluid pressure and composition. Enlarged endolymphatic sacs may indicate Ménière’s disease or endolymphatic sac tumors. Proper MRI ear anatomy understanding enables radiologists to differentiate normal anatomical variants from pathological processes affecting balance and spatial orientation functions.
Middle Ear Assessment Through MRI Technology

Ossicular Chain Evaluation and Mobility Assessment
The tiny bones of the middle ear – the malleus, incus, and stapes – play a crucial role in hearing, and middle ear MRI can provide detailed insights into their structure and positioning. While traditional CT imaging remains the gold standard for bony ossicular detail, MRI ear imaging excels at detecting soft tissue changes around these delicate structures that might affect their function.
When evaluating the ossicular chain through MRI, radiologists focus on identifying fluid collections, granulation tissue, or masses that could interfere with normal ossicular movement. The high soft tissue contrast of high resolution ear MRI makes it particularly valuable for detecting cholesteatoma, which appears as a characteristic non-enhancing mass that can erode the ossicles over time.
T2-weighted sequences are especially useful for this assessment, as they clearly differentiate between air, fluid, and soft tissue within the middle ear space. The presence of fluid or inflammatory tissue around the ossicles creates characteristic signal changes that can indicate impaired mobility even when the bones themselves appear structurally intact.
Temporal bone MRI protocols often include thin-section T1 and T2 sequences that allow for precise evaluation of ossicular displacement or fixation. The normal air-filled middle ear space appears dark on most sequences, making any pathological tissue easily identifiable as areas of increased signal intensity.
Inflammatory Process Detection and Characterization
MRI technology provides exceptional capabilities for identifying and characterizing inflammatory processes within the middle ear that might be missed on other imaging modalities. MRI ear protocol sequences can detect subtle inflammatory changes in their earliest stages, often before patients develop severe symptoms.
Acute otitis media presents with characteristic fluid accumulation that appears bright on T2-weighted images, while chronic inflammatory processes show more complex signal patterns. The ability of MRI ear imaging to differentiate between simple fluid and infected material helps guide treatment decisions and surgical planning.
Cholesteatoma represents one of the most important inflammatory conditions detectable through MRI. This acquired condition appears as a well-defined mass with characteristic signal properties – typically showing high signal on T2-weighted images and restricted diffusion on diffusion-weighted imaging sequences. These specific MRI findings help distinguish cholesteatoma from other middle ear masses and inflammatory conditions.
Granulation tissue associated with chronic inflammation displays distinctive enhancement patterns after gadolinium administration. This enhancement helps radiologists differentiate active inflammation from fibrotic changes or residual scarring from previous infections.
MRI ear anatomy visualization allows for precise mapping of inflammatory extent, which proves invaluable for surgical planning. The superior soft tissue contrast helps identify involvement of critical structures like the facial nerve canal or inner ear spaces, information that significantly impacts treatment approaches and patient counseling regarding potential complications.
Image Optimization and Quality Control Measures
Artifact Reduction Techniques and Troubleshooting
Motion artifacts pose the biggest challenge in MRI ear imaging since even tiny head movements can blur the delicate structures we’re trying to visualize. The key is proper patient positioning with foam padding around the head and clear instructions about staying completely still. Some patients find it helpful to focus on breathing slowly through their nose rather than thinking about not moving.
Susceptibility artifacts from metal dental work or hearing aids create signal dropout near the temporal bone. Before scanning, remove all metal objects including earrings, hairpins, and hearing devices. For patients with fixed dental work, adjusting the slice orientation slightly can minimize distortion. Using shorter echo times in gradient echo sequences also reduces susceptibility effects.
Flow artifacts from cerebrospinal fluid in the internal auditory canal can mimic pathology. Cardiac gating helps eliminate pulsatile flow artifacts, though it increases scan time. Pre-saturation pulses applied superior and inferior to the imaging volume effectively suppress CSF flow without compromising image quality.
Chemical shift artifacts appear as tissue displacement along the frequency encoding direction. This becomes problematic when trying to assess the precise relationship between structures like the facial nerve and acoustic neuroma. Increasing the receiver bandwidth reduces chemical shift but comes at the cost of signal-to-noise ratio – a trade-off that requires careful consideration based on your clinical question.
Wrap-around artifacts occur when anatomy extends beyond the field of view, causing structures to fold back into the image. This commonly happens with high resolution ear MRI when using smaller FOV settings. Oversampling in the phase direction prevents this issue while maintaining spatial resolution.
Signal-to-Noise Ratio Enhancement Methods
Achieving optimal signal-to-noise ratio in temporal bone MRI requires a multi-faceted approach that balances acquisition parameters with patient comfort. Surface coils positioned close to the ear provide superior SNR compared to standard head coils, though bilateral imaging may require dual coil setups or sequential acquisitions.
Voxel size directly impacts SNR – larger voxels capture more signal but reduce spatial resolution needed for inner ear anatomy. The sweet spot for labyrinth MRI typically uses 0.4-0.6mm in-plane resolution with 0.8-1.0mm slice thickness. Thinner slices improve visualization of the modiolus and ossicular chain but require longer acquisition times or accepting lower SNR.
Multiple signal averages boost SNR by the square root of the number of excitations. For high resolution ear MRI sequences, using 2-4 averages strikes a good balance between image quality and scan duration. Patients can typically tolerate 8-12 minutes for a single sequence when properly positioned and prepared.
Field strength plays a crucial role in SNR performance. While 1.5T scanners provide adequate image quality for most ear pathology, 3T systems offer 70-80% SNR improvement that translates into better visualization of cranial nerves within the internal auditory canal and improved detection of small acoustic neuromas.
Parallel imaging techniques like SENSE or GRAPPA reduce scan time but at the expense of SNR. The acceleration factor should be chosen carefully – factors of 2-3 work well for most ear imaging applications without severely compromising image quality. Higher acceleration factors may be useful for motion-prone patients where shorter scan times outweigh SNR losses.
MRI imaging of the ear structures demands meticulous attention to patient preparation, technical precision, and systematic evaluation protocols. From optimizing sequences for the internal auditory canal to analyzing labyrinth anatomy and assessing middle ear pathology, each step builds toward delivering accurate diagnostic information. The combination of proper patient positioning, advanced imaging parameters, and quality control measures creates the foundation for reliable results that clinicians can trust.
Success in ear MRI comes down to mastering these core elements and applying them consistently. Take time to perfect your preparation protocols, fine-tune your technical settings, and develop a structured approach to image interpretation. When you nail these fundamentals, you’ll find yourself delivering clearer images and more confident diagnoses that make a real difference in patient care.